Home
>
Resources
>
Documents
>
Summary:how to use IAMMETER`s Wi-Fi energy meter in the Home assistant
This is a summary article that includes two parts.

| integration method | interface | refresh period | |
|---|---|---|---|
| 1 | Core integration | HTTP | 1 min |
| 2 | Modbus/TCP sensor | Modbus/TCP | 1 s |
| 3 | MQTT sensor | MQTT | 12 s |
| 4 | HACS | HTTP or Modbus/TCP | 1 min(http),1s(Modbus/TCP) |
| 5 | MQTT discovery | MQTT | 6 s |
This is the first integration method that IAMMETER supported and has already been merged into the core of Home Assistant.
IAMMETER energy meter @ Home Assistant
Advantage:
Disadvantage:
Because it is very hard to merge new code in Home assistant core now(or maybe we still have not found a proper method), so many new features can not be used directly (such as device discovery, energy management component etc).
how to integrate IAMMETER`s energy meter into Home assistant
how to integrate the Wi-Fi energy meter into home assistant
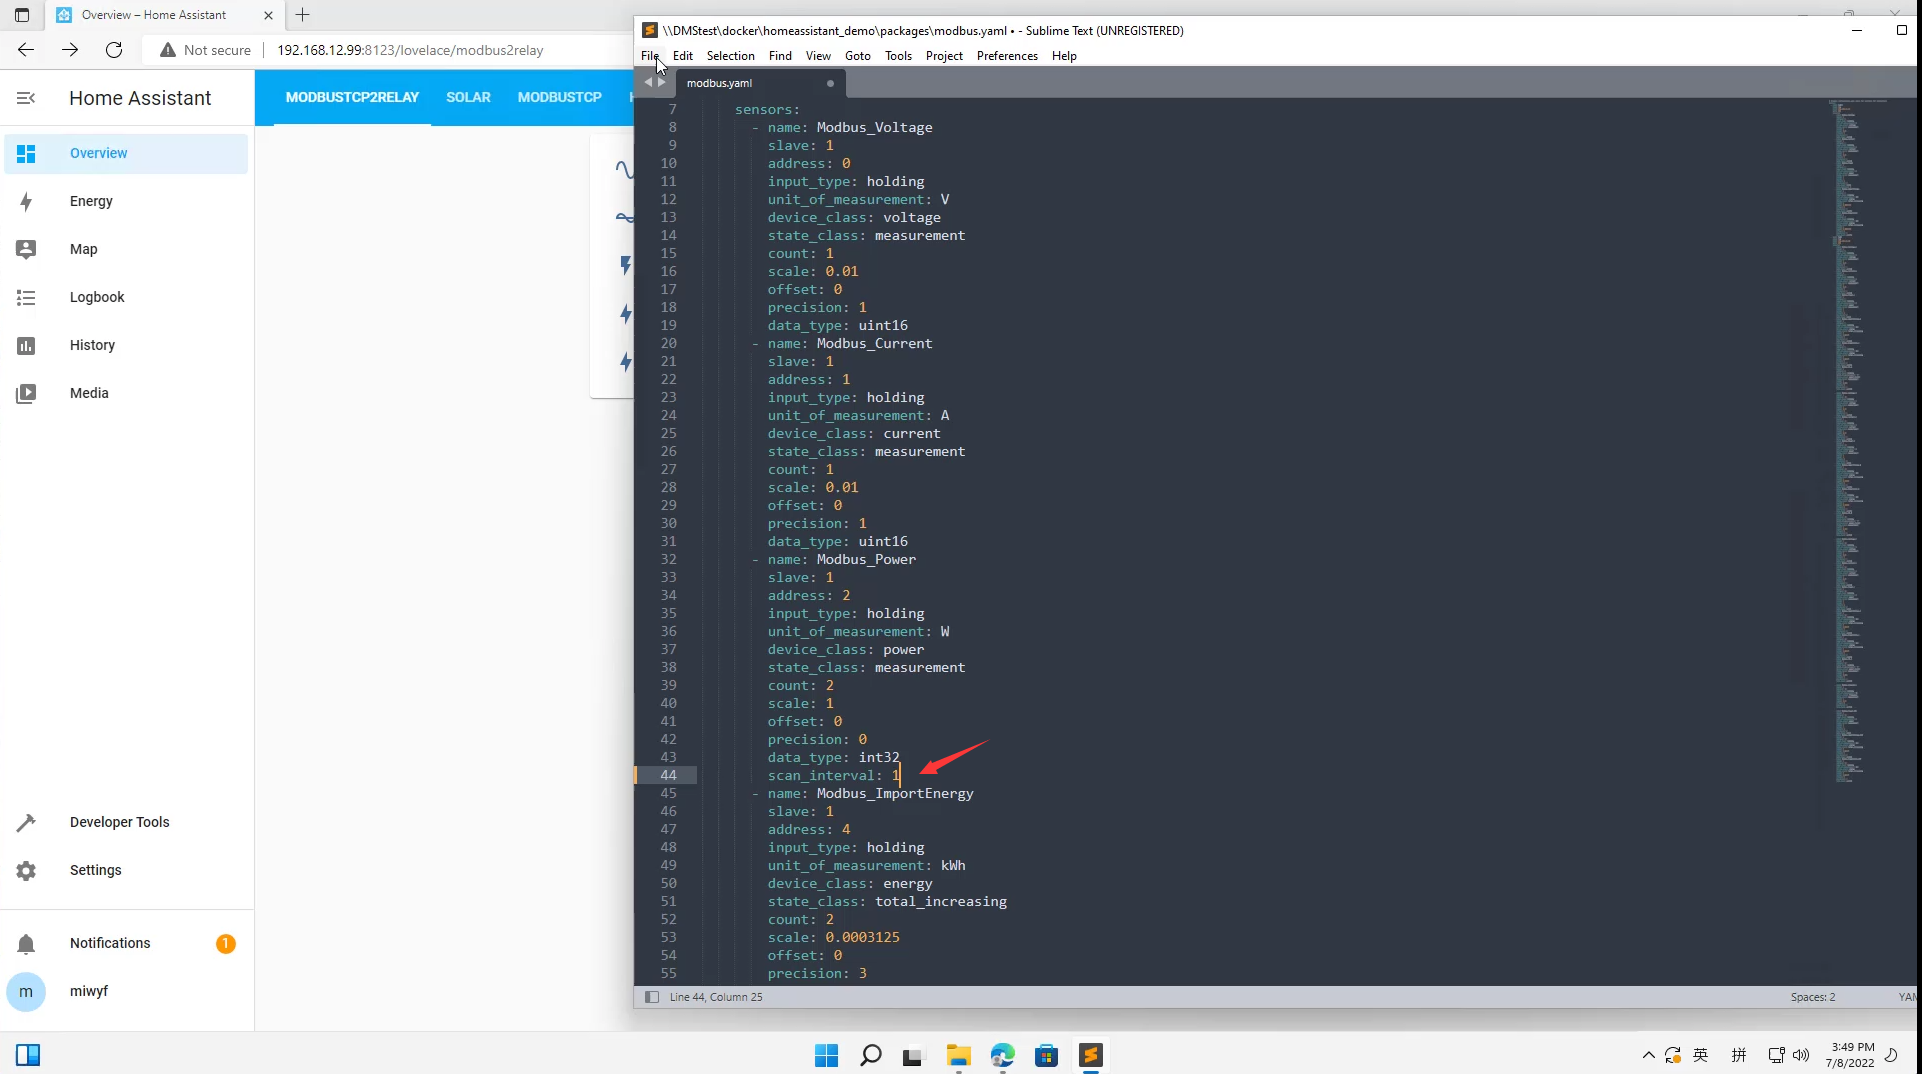
This is the best options if you want to refresh the energy meter`s reading (up to 1s/s) quickly in the home assistant. The support of high sample rate makes it can be used as the sensor value in some control loop.
Advantage
Disadvantage:
Request the Wi-Fi energy meter from the Modbus TCP sensor in Home Assistant
Video tutorials:how to integrate the Wi-Fi power meter into home assistant by modbu/tcp
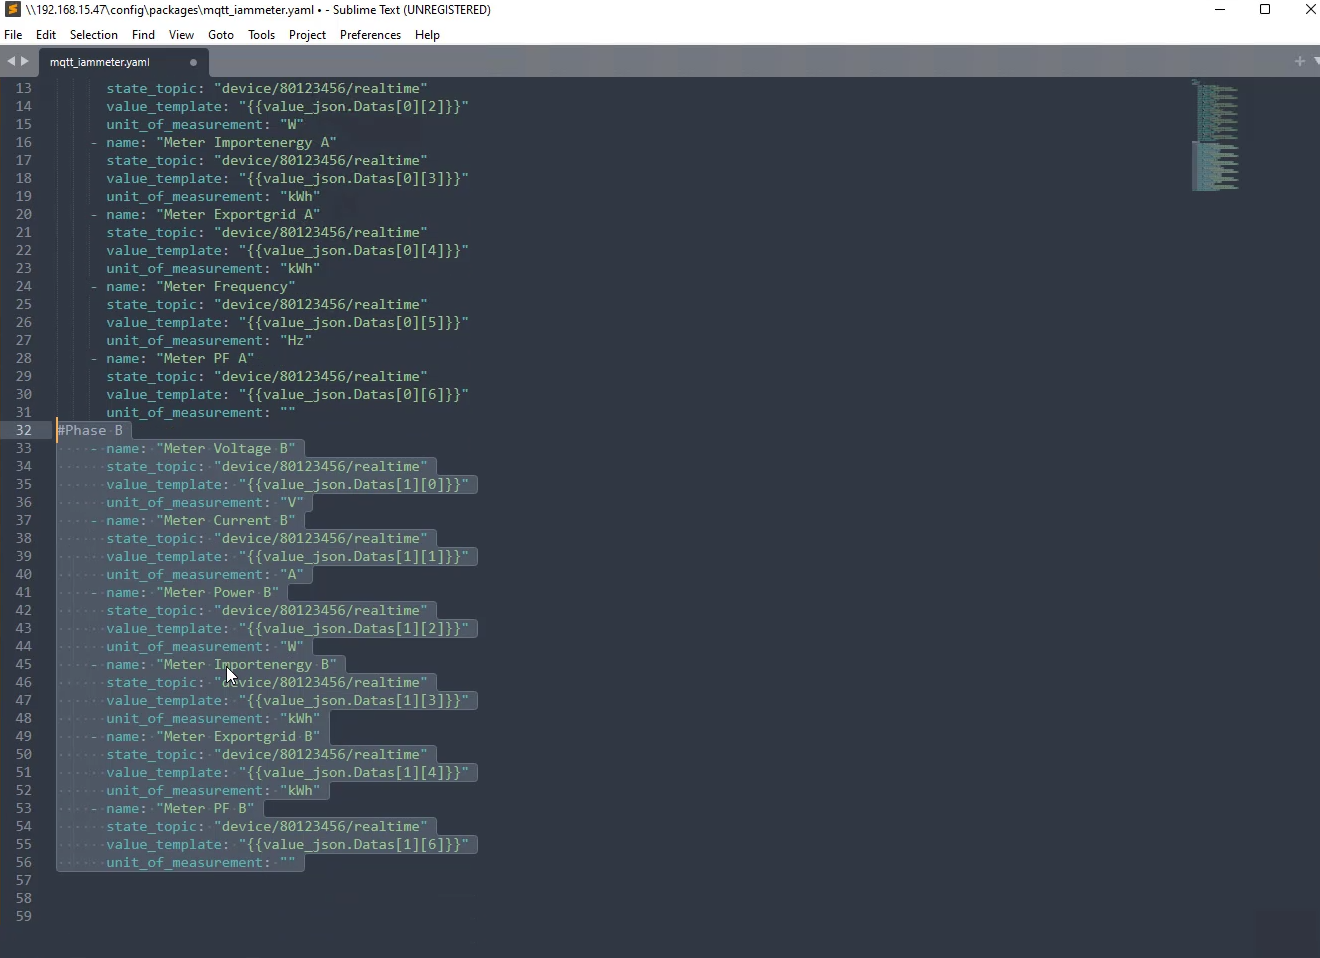
It is a very common mode that integrates the device into the Home Assistant by MQTT.
The Wi-Fi energy meter of IAMMETER supports the MQTT uploading, with user/PWD authentication mode.
Advantage
Disadvantage:
Set the username and pwd of the MQTT ,connect the energy meter to the Home Assistant
Video tutorial:Integrate the wifi energy meter into Home assistant by MQTT mode
Because it is difficult to upgrade the IAMMETER`s integration in the core of Home assistant now, we provide a custom component about IAMMETER in HACS.
Video tutorial: IAMMETER@HACS by HTTP
Request the energy meter`s data from modbus/tcp in HACS
Video:Request the energy meter`s data from modbus/tcp in HACS
The discovery of MQTT devices will enable one to use MQTT devices with only minimal configuration effort on the side of Home Assistant.
Fore more details, please refer to Enable MQTT discovery in Home Assistant with the latest IAMMETER firmware (i.76.058.8)
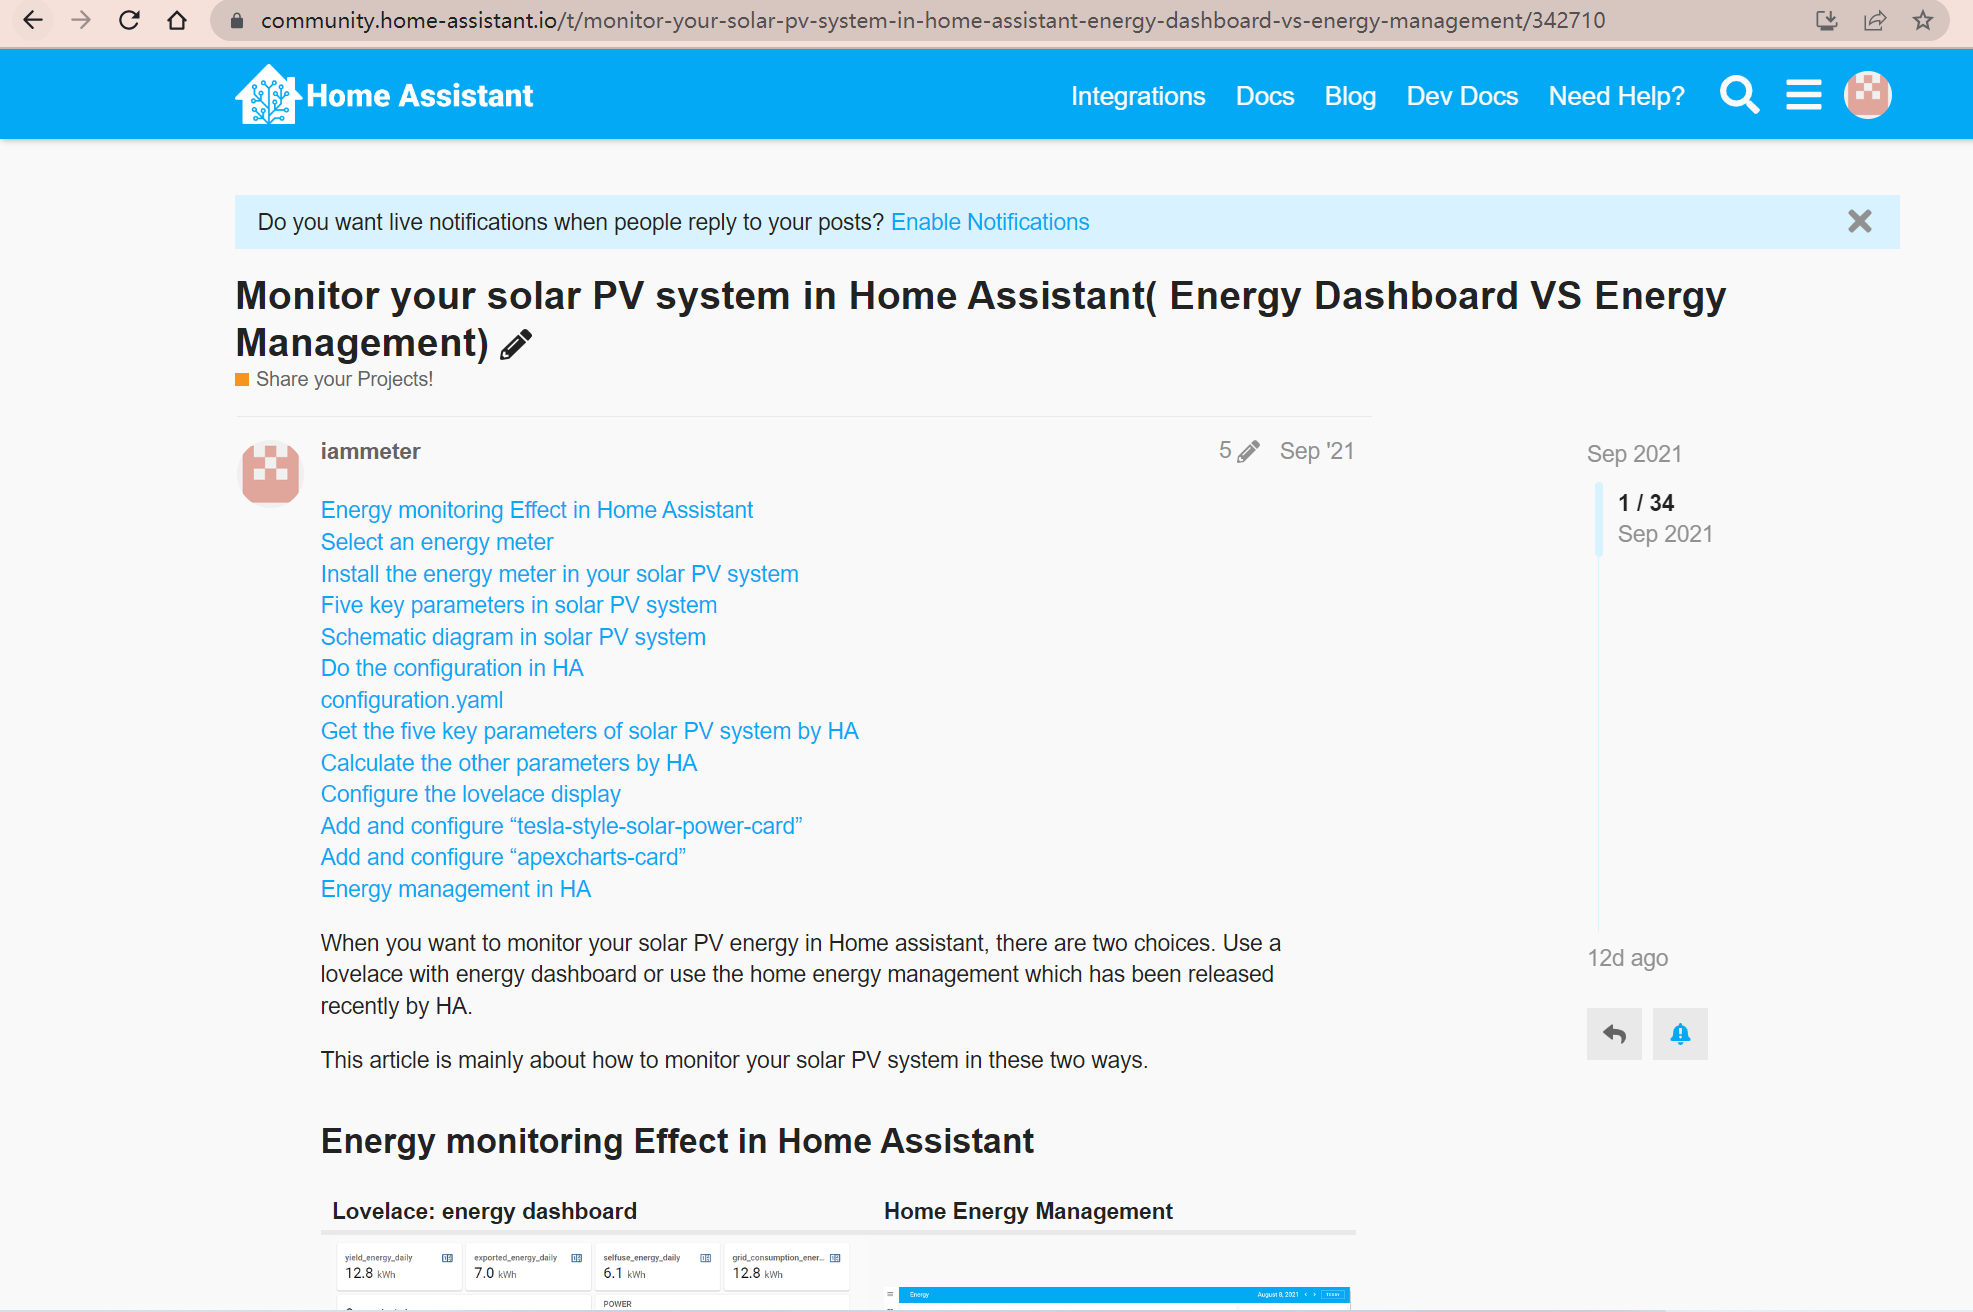
This article provide two methods to display the dashboard, use the lovelace dashboard or use the energy management component.
Monitor your solar PV system in the home assistant
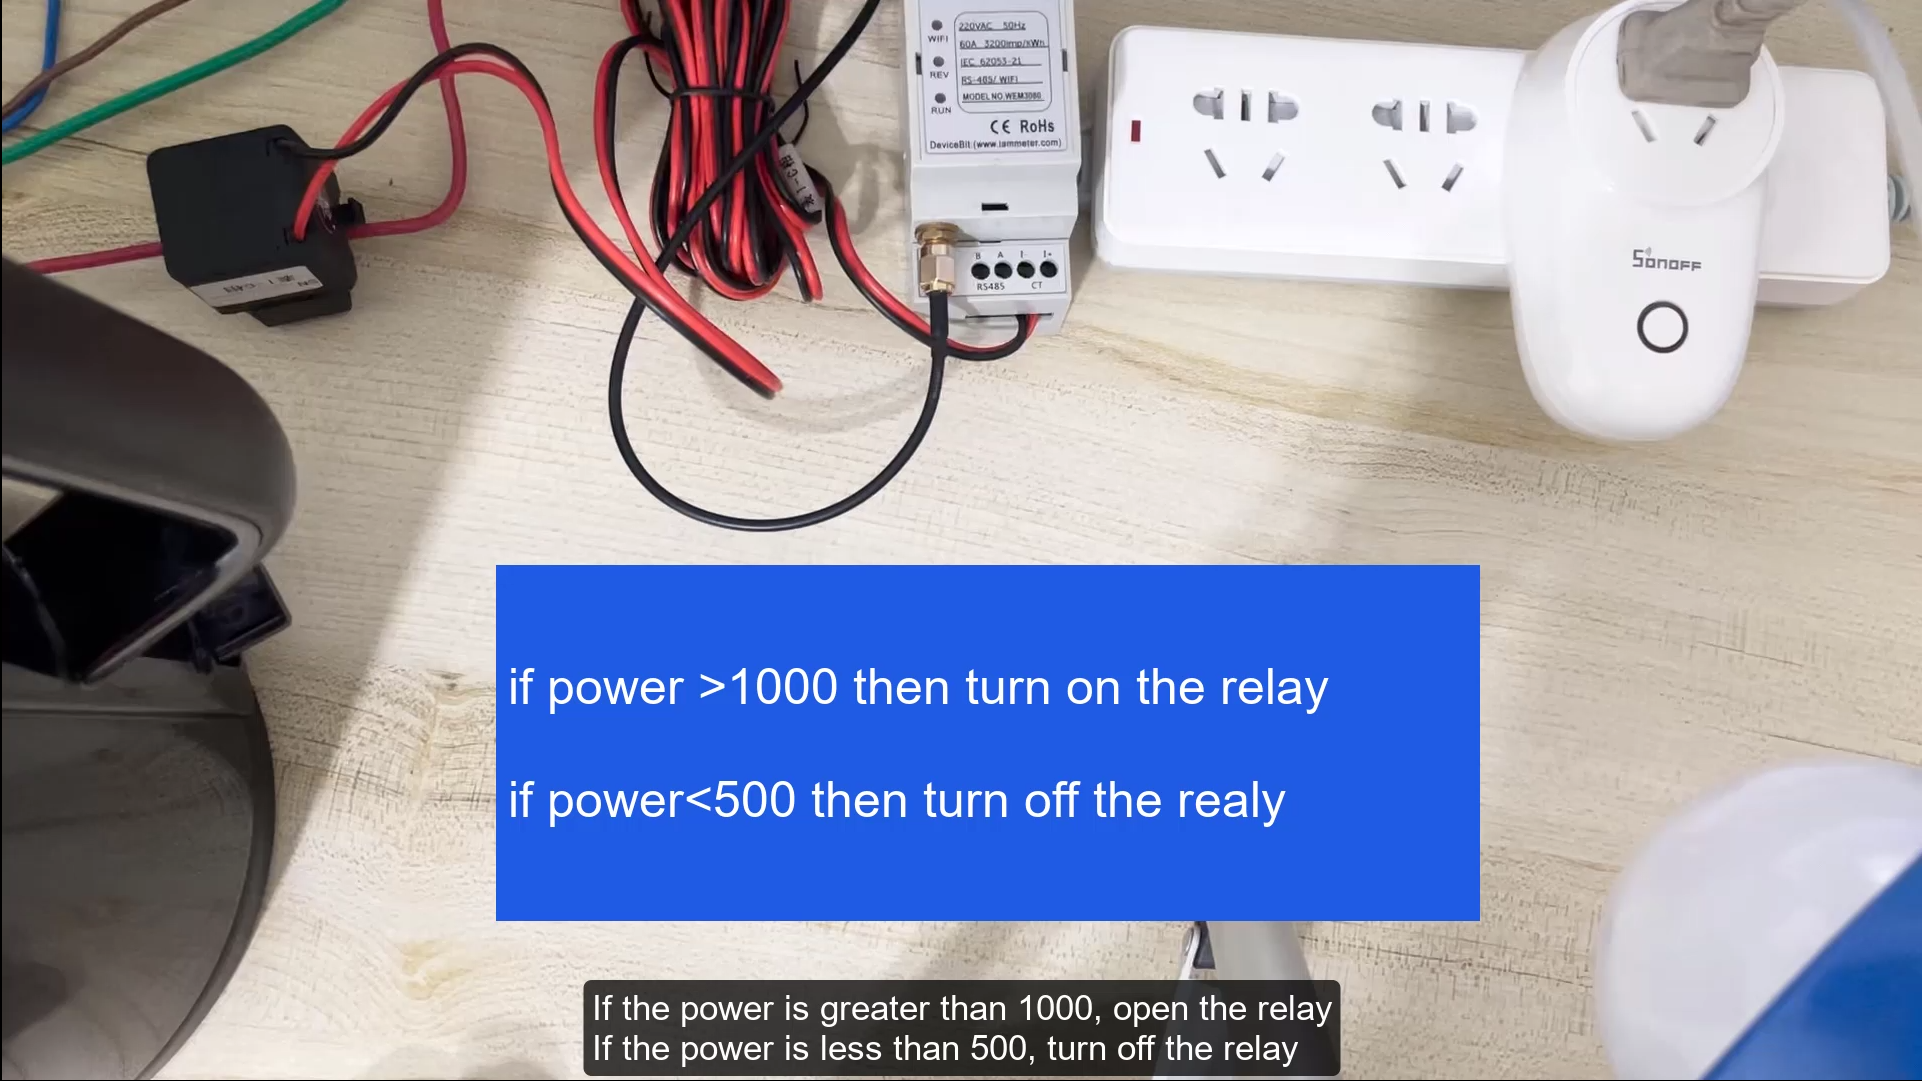
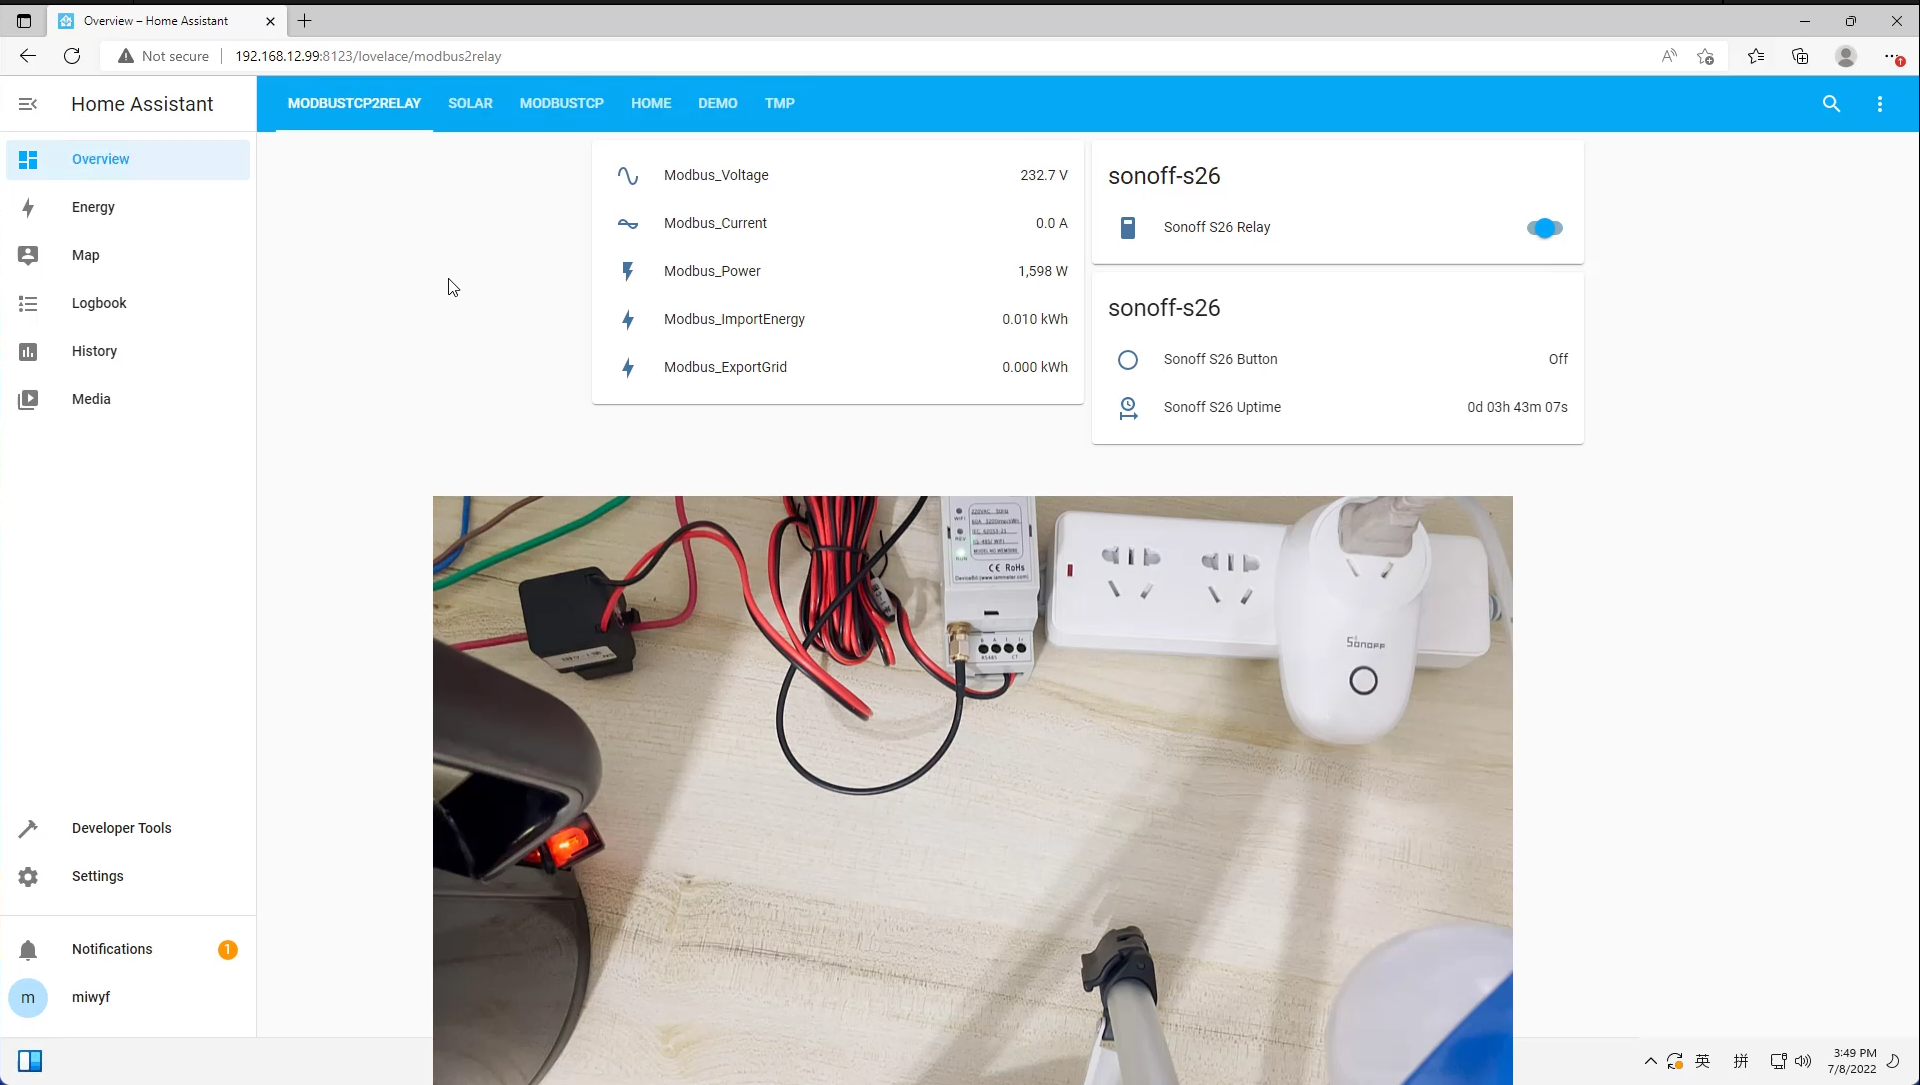
Because of the high sample rate (1s/s) that supported in the modbus/tcp integration mode, there are many interesting function can be achieved. This app note show how to read the active power of the energy meter each 1 second and use this value to control the relay in home assistant.
Three Phase Wi-Fi Energy Meter (WEM3080T)
Single Phase Wi-Fi Energy Meter (WEM3080)
Three Phase Wi-Fi Energy Meter (WEM3046T)
Three Phase Wi-Fi Energy Meter (WEM3050T)